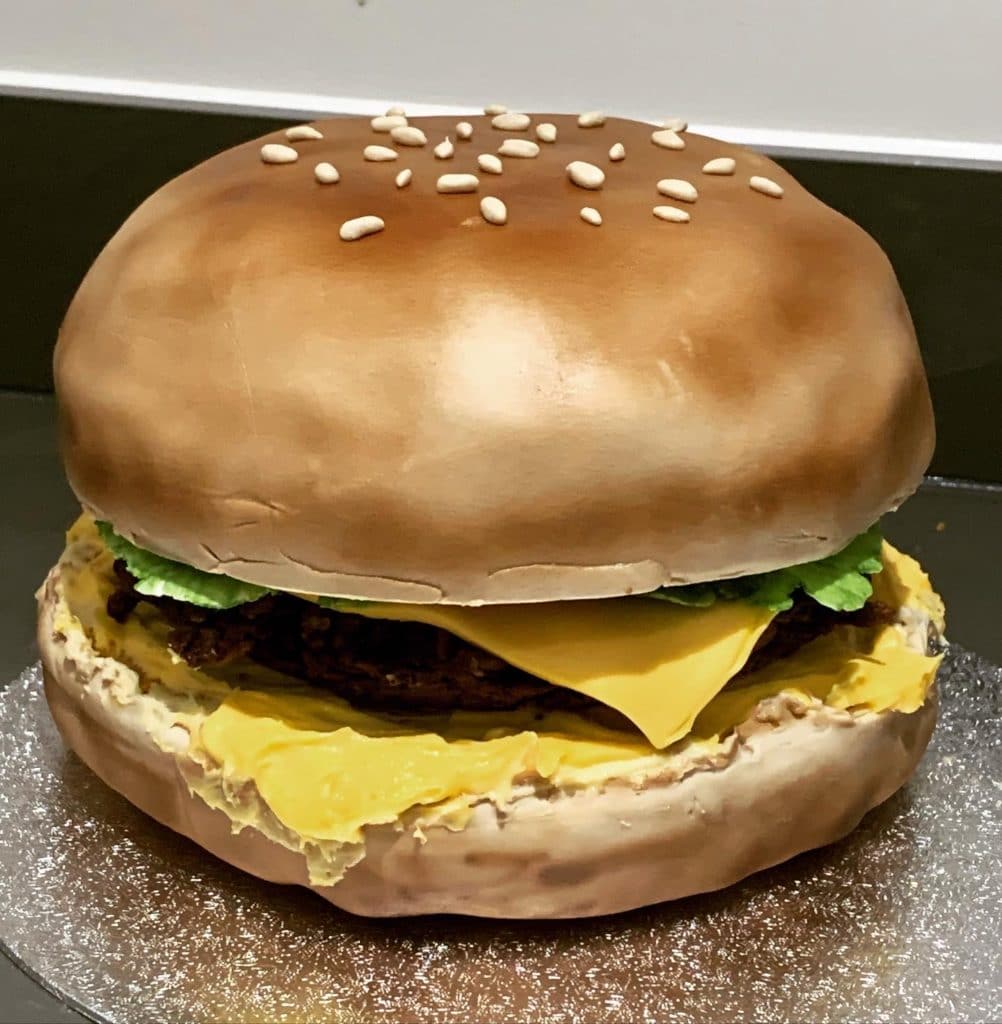
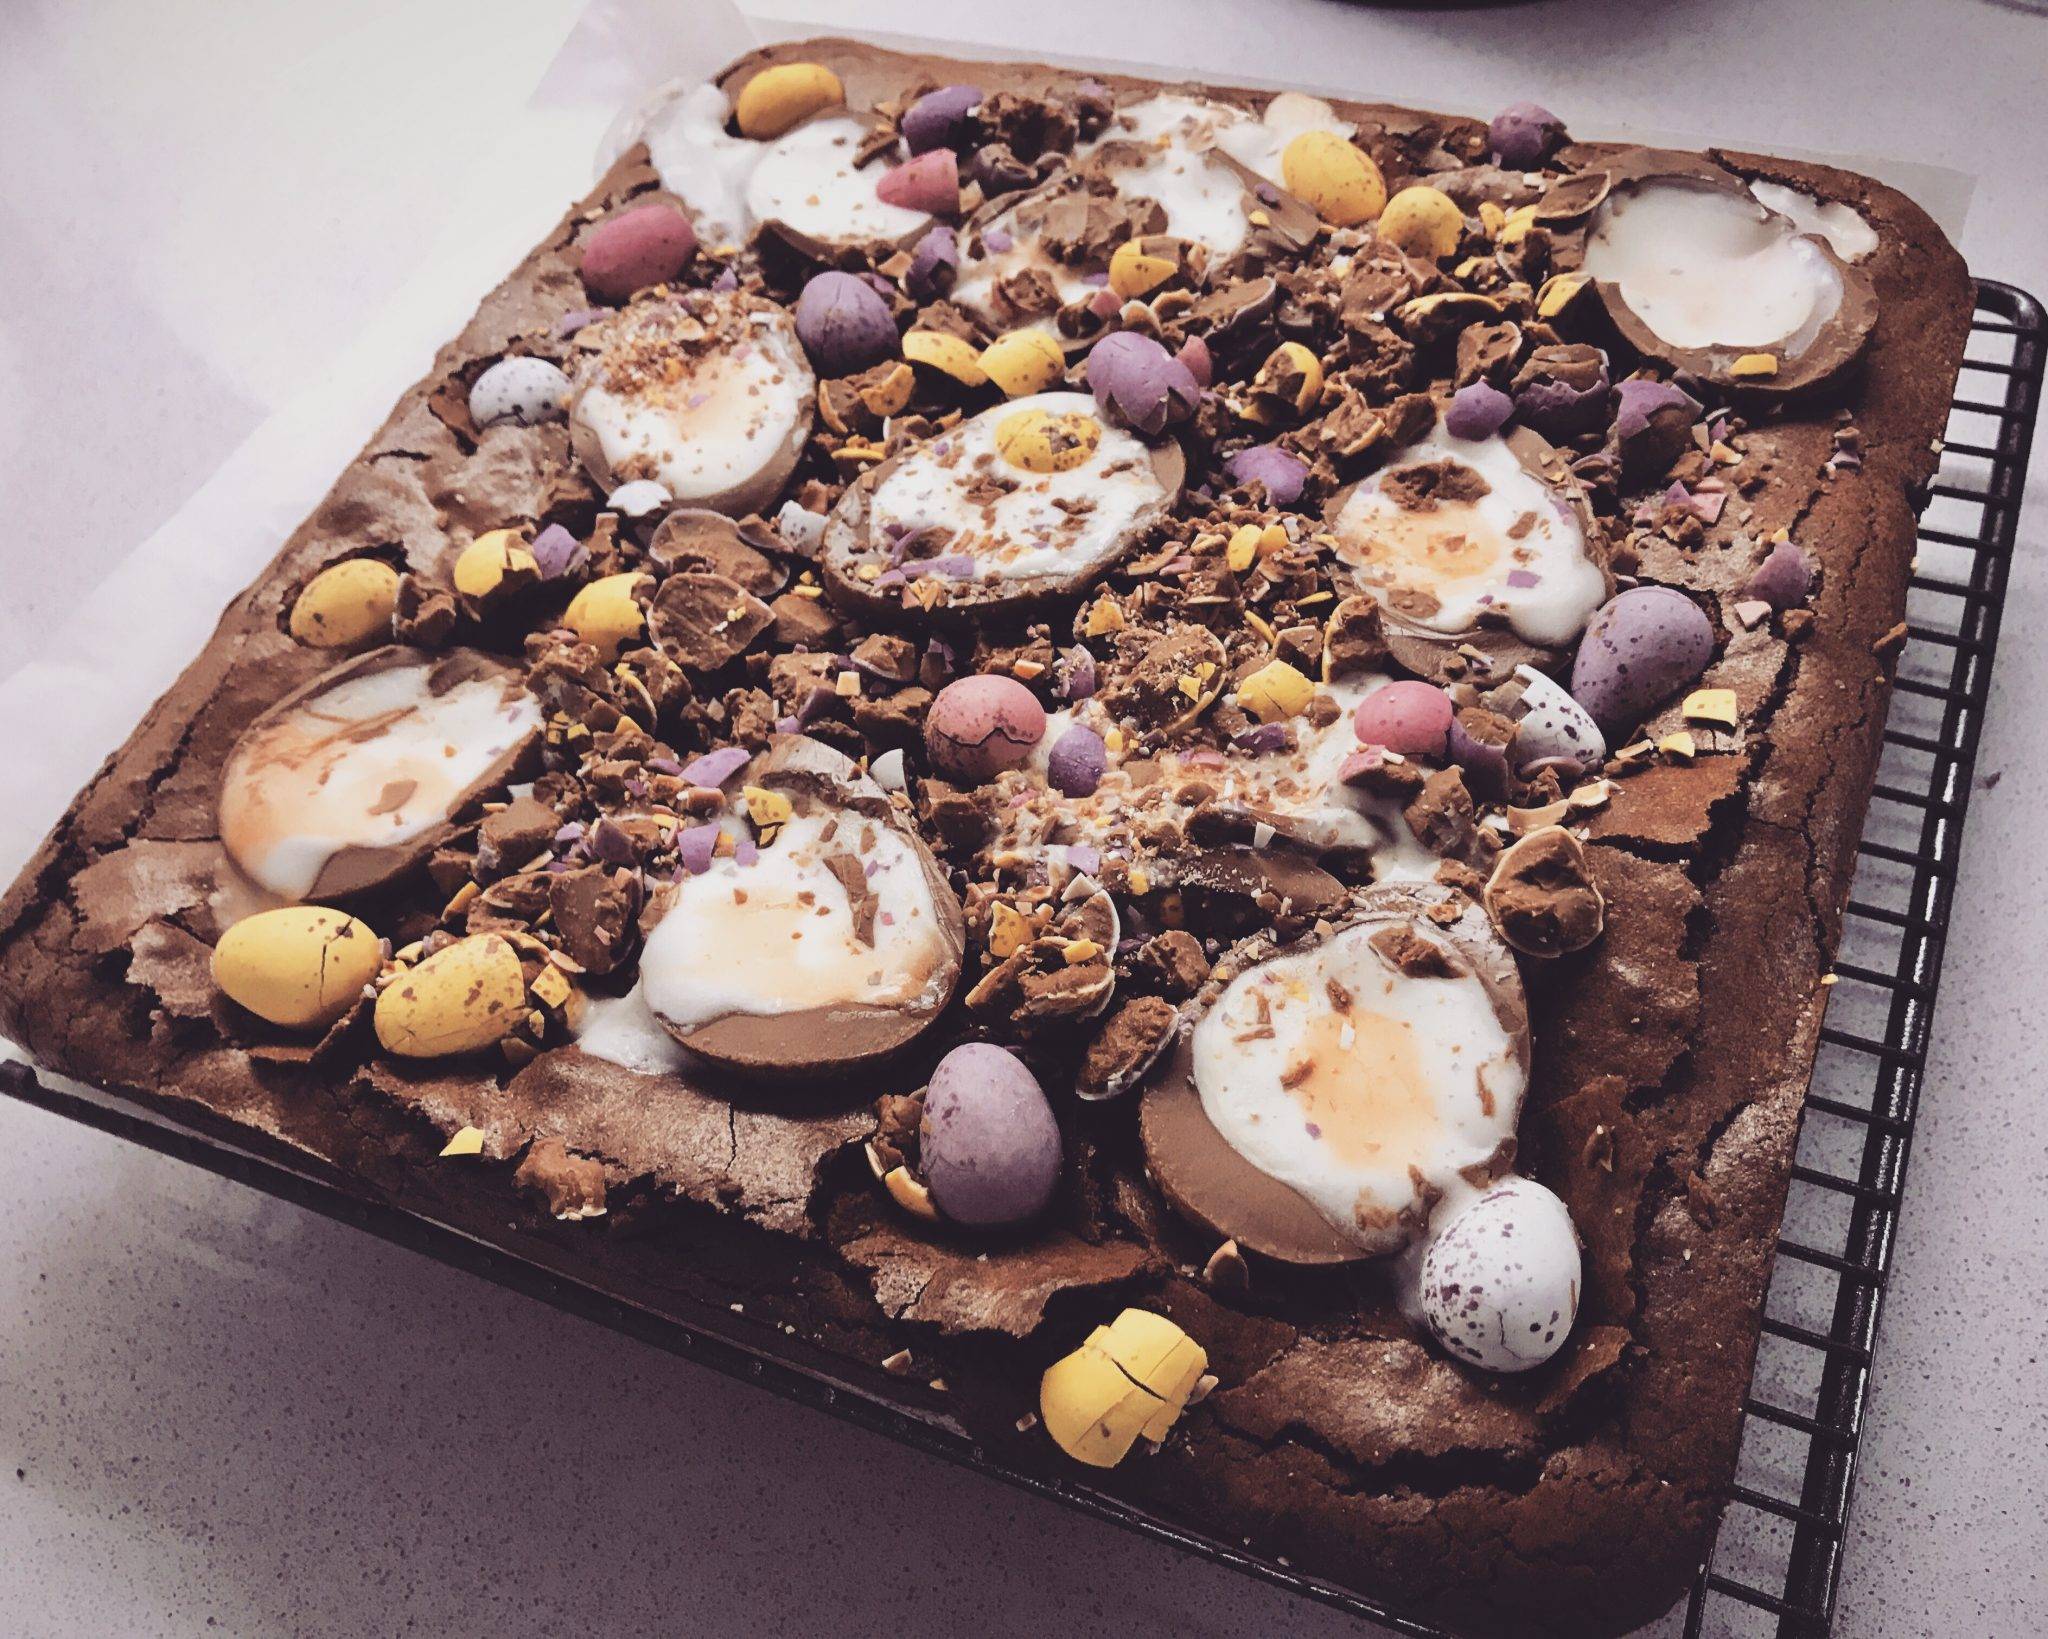
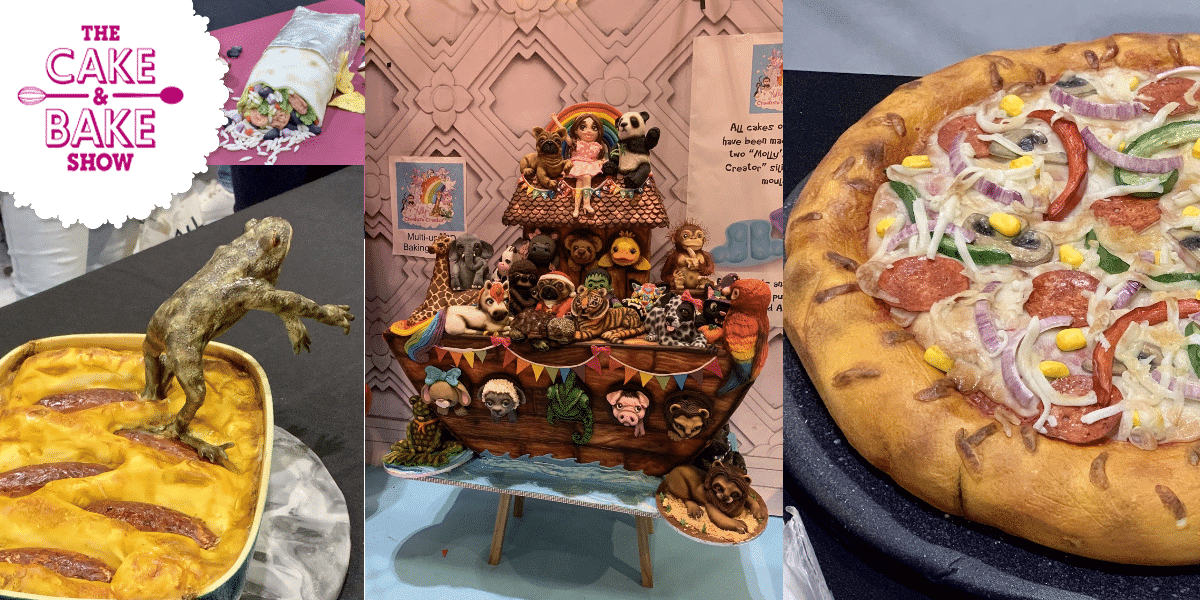
Following my visit to the Cake & Bake show a few weeks ago I got the bug to start making my own illusion cakes and to try out my new Spectrum Flow airbrush kit. I decided the first fun project would be a burger & fries cake and since posting it on my Instagram I’ve had quite a few people get in touch asking how I did it so I thought I’d do a quick write up on the different icing and decorating techniques I used to create the effect. I won’t go in to detail on the cake here as you could use any cake you like (although I suggest a light coloured sponge to help with the effect of cutting in to a bun). I used a standard Victoria sponge recipe, but using 1.5x the mix that I normally would across both a small 8″ cake tin and then a deep 8″ cake tin for the bun lid.
Decorating the bun
First of all you need to carve your bun shape, you probably won’t need to do too much with the bottom of the bun but for the top you’ll need to round it off to give it that rounded bun shape. I use a small serrated knife to do this kind of cutting away and shaping. Once you’re happy with the shape add a crumb coat with buttercream or Italian meringue buttercream and put in the fridge for 30mins.
To decorate the bun I used about 750g of sugar paste. This was the first time I’d used The Sugar Paste and I found it so much easier to use than other icing I’ve used in the past, its so stretchy and doesn’t crack like other icing making it super easy to apply, stretch and cover your bake without tearing. Taking about a quarter of the icing mix in 1 or 2 drops of brown food colouring with twice as much yellow. Once blended knead this in to the rest of the sugar paste to give the dough an initial base colour. Once you’re happy make a ball out of the icing and split in half. Next roll out each half until big enough and cover the top and bottom of your ‘bun’.
This is where you can add some extra detail to give it that overall bun effect. I used my airbrush with a brown water based colour but you could use some food colouring and a brush to hand paint it if you don’t have one. Once you’ve got the browned bun detail you’re happy with you can add some sesame seeds to the top bun to finish. I made these with the left over bits from my sugar paste cut offs, rolling in to small seed shapes and had them to one side ready to add to the bun while the paint was still wet.
Making the burger patty
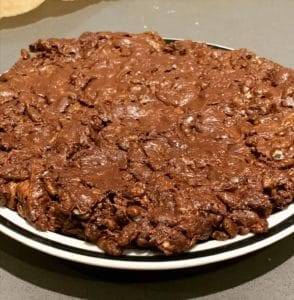
For the burger patty melt 60g of milk chocolate and 120g of dark chocolate in the microwave for 20 seconds and mix together. If the chocolate isn’t quite melted keep popping it back in for short 10 minute bursts. In a separate bowl melt 150g of marshmallows for 30 seconds also in the microwave and stir in to the chocolate. Once it’s all stirred through add 150g of cocoa pops and mix in. Now quickly mold this mixture in to a ball and flatten to create your patty, making sure it is roughly the same width as your bun. Place to one side.
Prepping the fillings
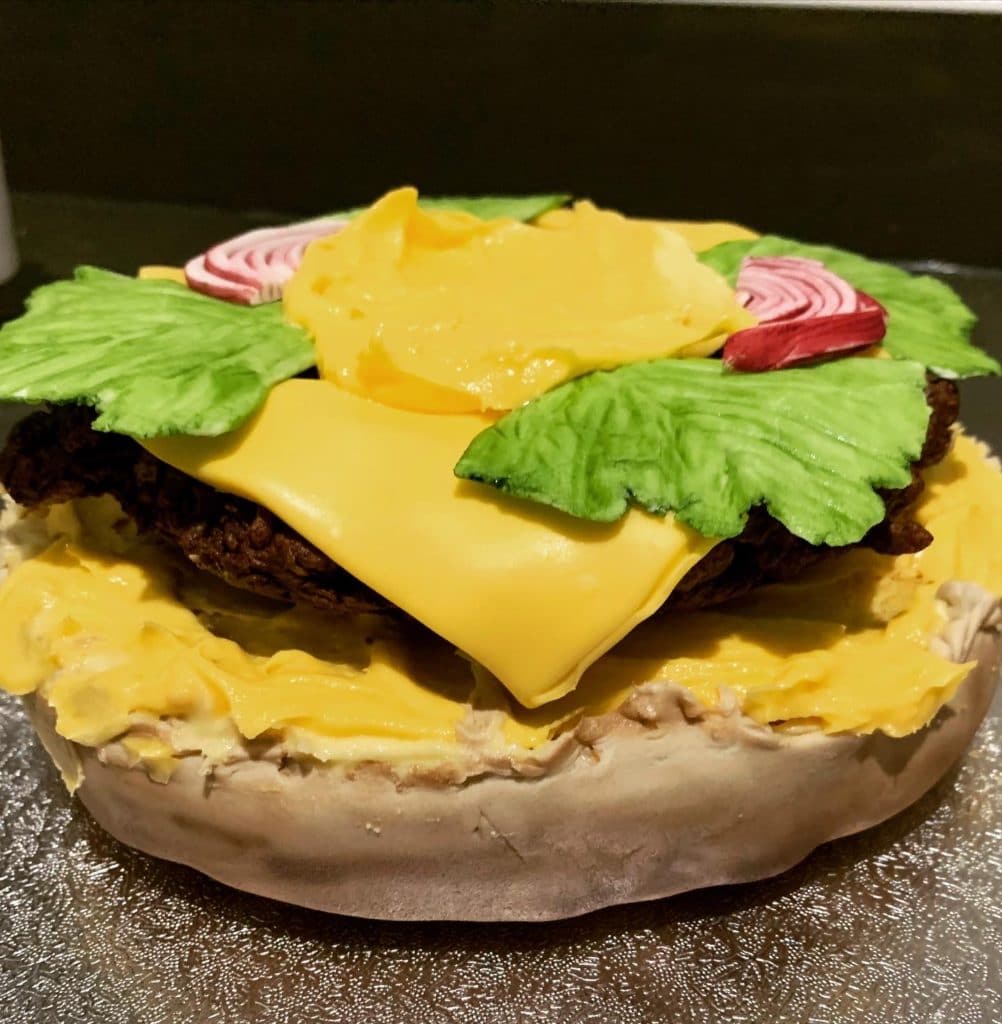
Mustard – For the other fillings I coloured some of the leftover buttercream with yellow and orange food colouring to create a mustard colour, this was really handy to ‘glue’ the patty to the bun halves. You could also make another batch with some red colouring to make tomato ketchup if you want to add another level.
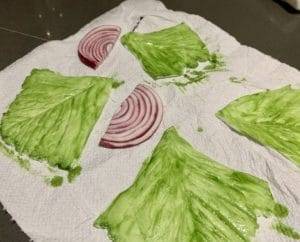
Lettuce – For the lettuce I used florist sugar paste as this rolls out really thin and is perfect for creating that thin, crisp lettuce look. Roll small amounts of icing out until about 1mm thick and then use a ball tool and a leaf impression mat to give the detail. Ruffle the edges with the ball tool and then paint with some green food colouring and leave to dry.
Red Onion – Roll out some white sugar paste/fondant icing to a few mm thick and cut in to a rectangular shape. Mix pink food colouring with a small amount of crimson and blue colouring to create that distinctive red onion colour. Paint the top and allow to dry for a minute or two. Now take a sharp knife and cut in to thin, long strips (cleaning the knife after each cut to reduce the colour bleeding through the white icing). Stack the strips together and bend in to half a circle to create an onion slice, cutting off any excess. Repeat for how many slices you want.
Cheese Slices – For this I recommend using moldable white chocolate and colouring with yellow and maybe some orange food colouring depending on the cheese you’re going for. Roll out in to square or triangle slices and put to one side.
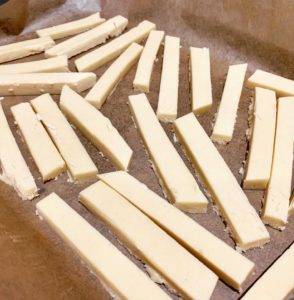
Cookie fries
For the cookie fries, you’ll need the following
- 4oz Butter, room temperature
- 4oz Sugar
- 1 teaspoon vanilla
- 1 egg
- 8oz Flour
- teaspoon Baking Powder
- 1/4 teaspoon salt
- Mix the flour, baking powder and salt together in a bowl.
- In a separate bowl cream together the butter, sugar and vanilla. After a few minutes add the egg and mix until combined.
- Combine the mixtures together and then knead in to a dough.
- Place dough on a non-stick baking mat or some baking paper and roll out to the chip thickness you want and cover with some more baking paper.
- Put in the fridge for an hour.
- Cut the dough in to strips and randomly cut the strips to create varying chip sizes.
- Bake for 10-12mins at 180°C.
- Once cooled add to the chip look by painting or airbrushing them with random touches of brown to give them that cooked look.
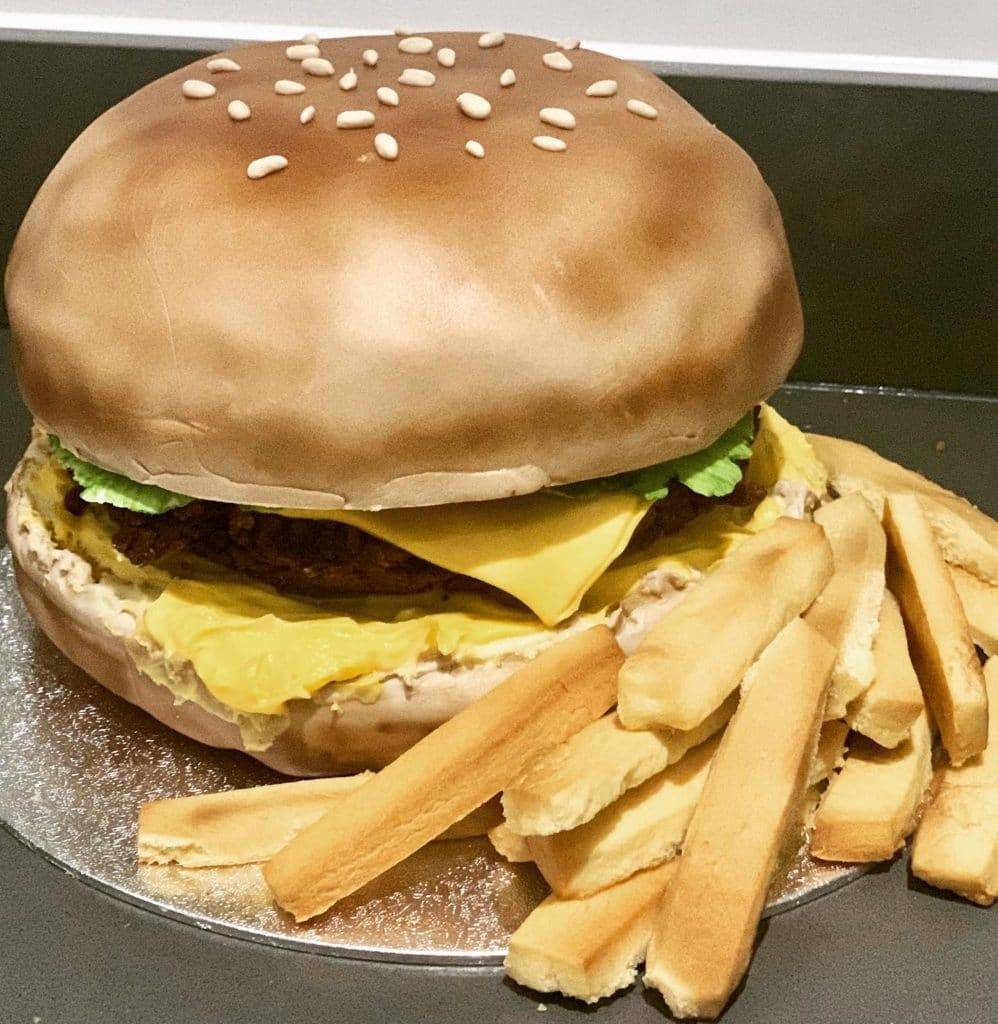
Bringing it all together
Take the bottom of the bun, making sure its cake side up so that the icing effect you did earlier is on the bottom and spread some of the mustard buttercream on it. Next take the patty and position in the bun and then from there build up the burger with the extras you’ve made. Arranging the lettuce, onions and cheese over the burger to create your desired look. Now spread some more mustard or tomato ketchup buttercream on top of the patty and place the bun lid on top. And voila, you have one burger cake ready to go and wow everyone.
Scatter your fries around the edge of that burger as the finishing touch, you could even add a dollop of ketchup buttercream to polish it off.
Keep an eye out over the coming months as I play around more with my airbrush and sugar paste techniques to improve my cake presentation