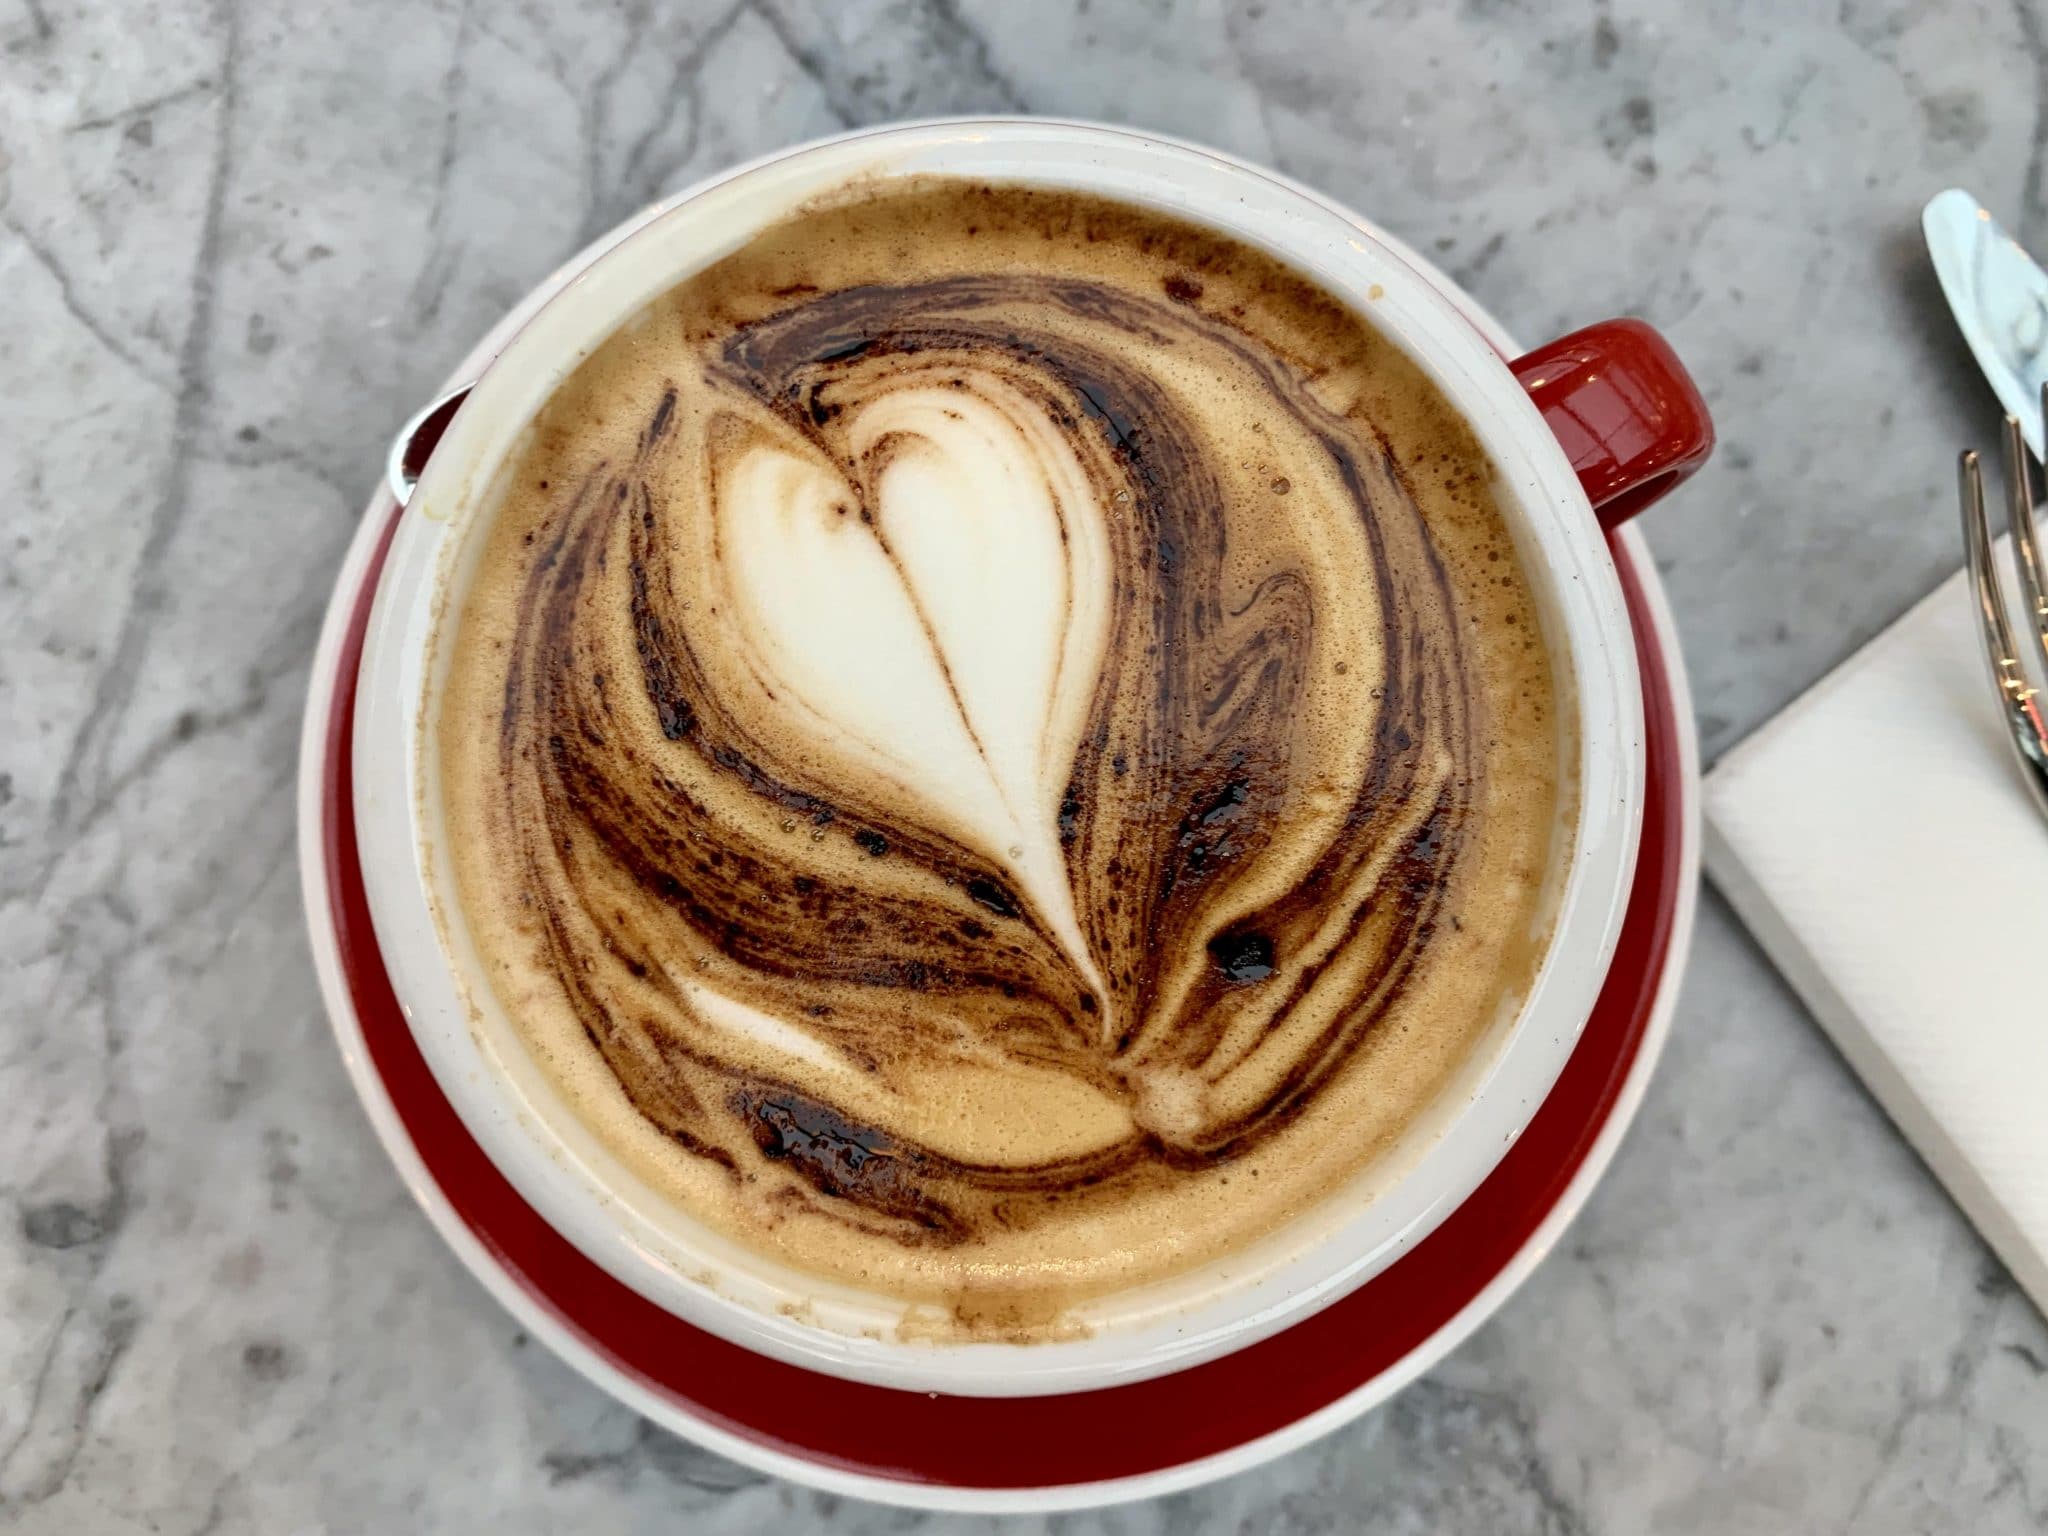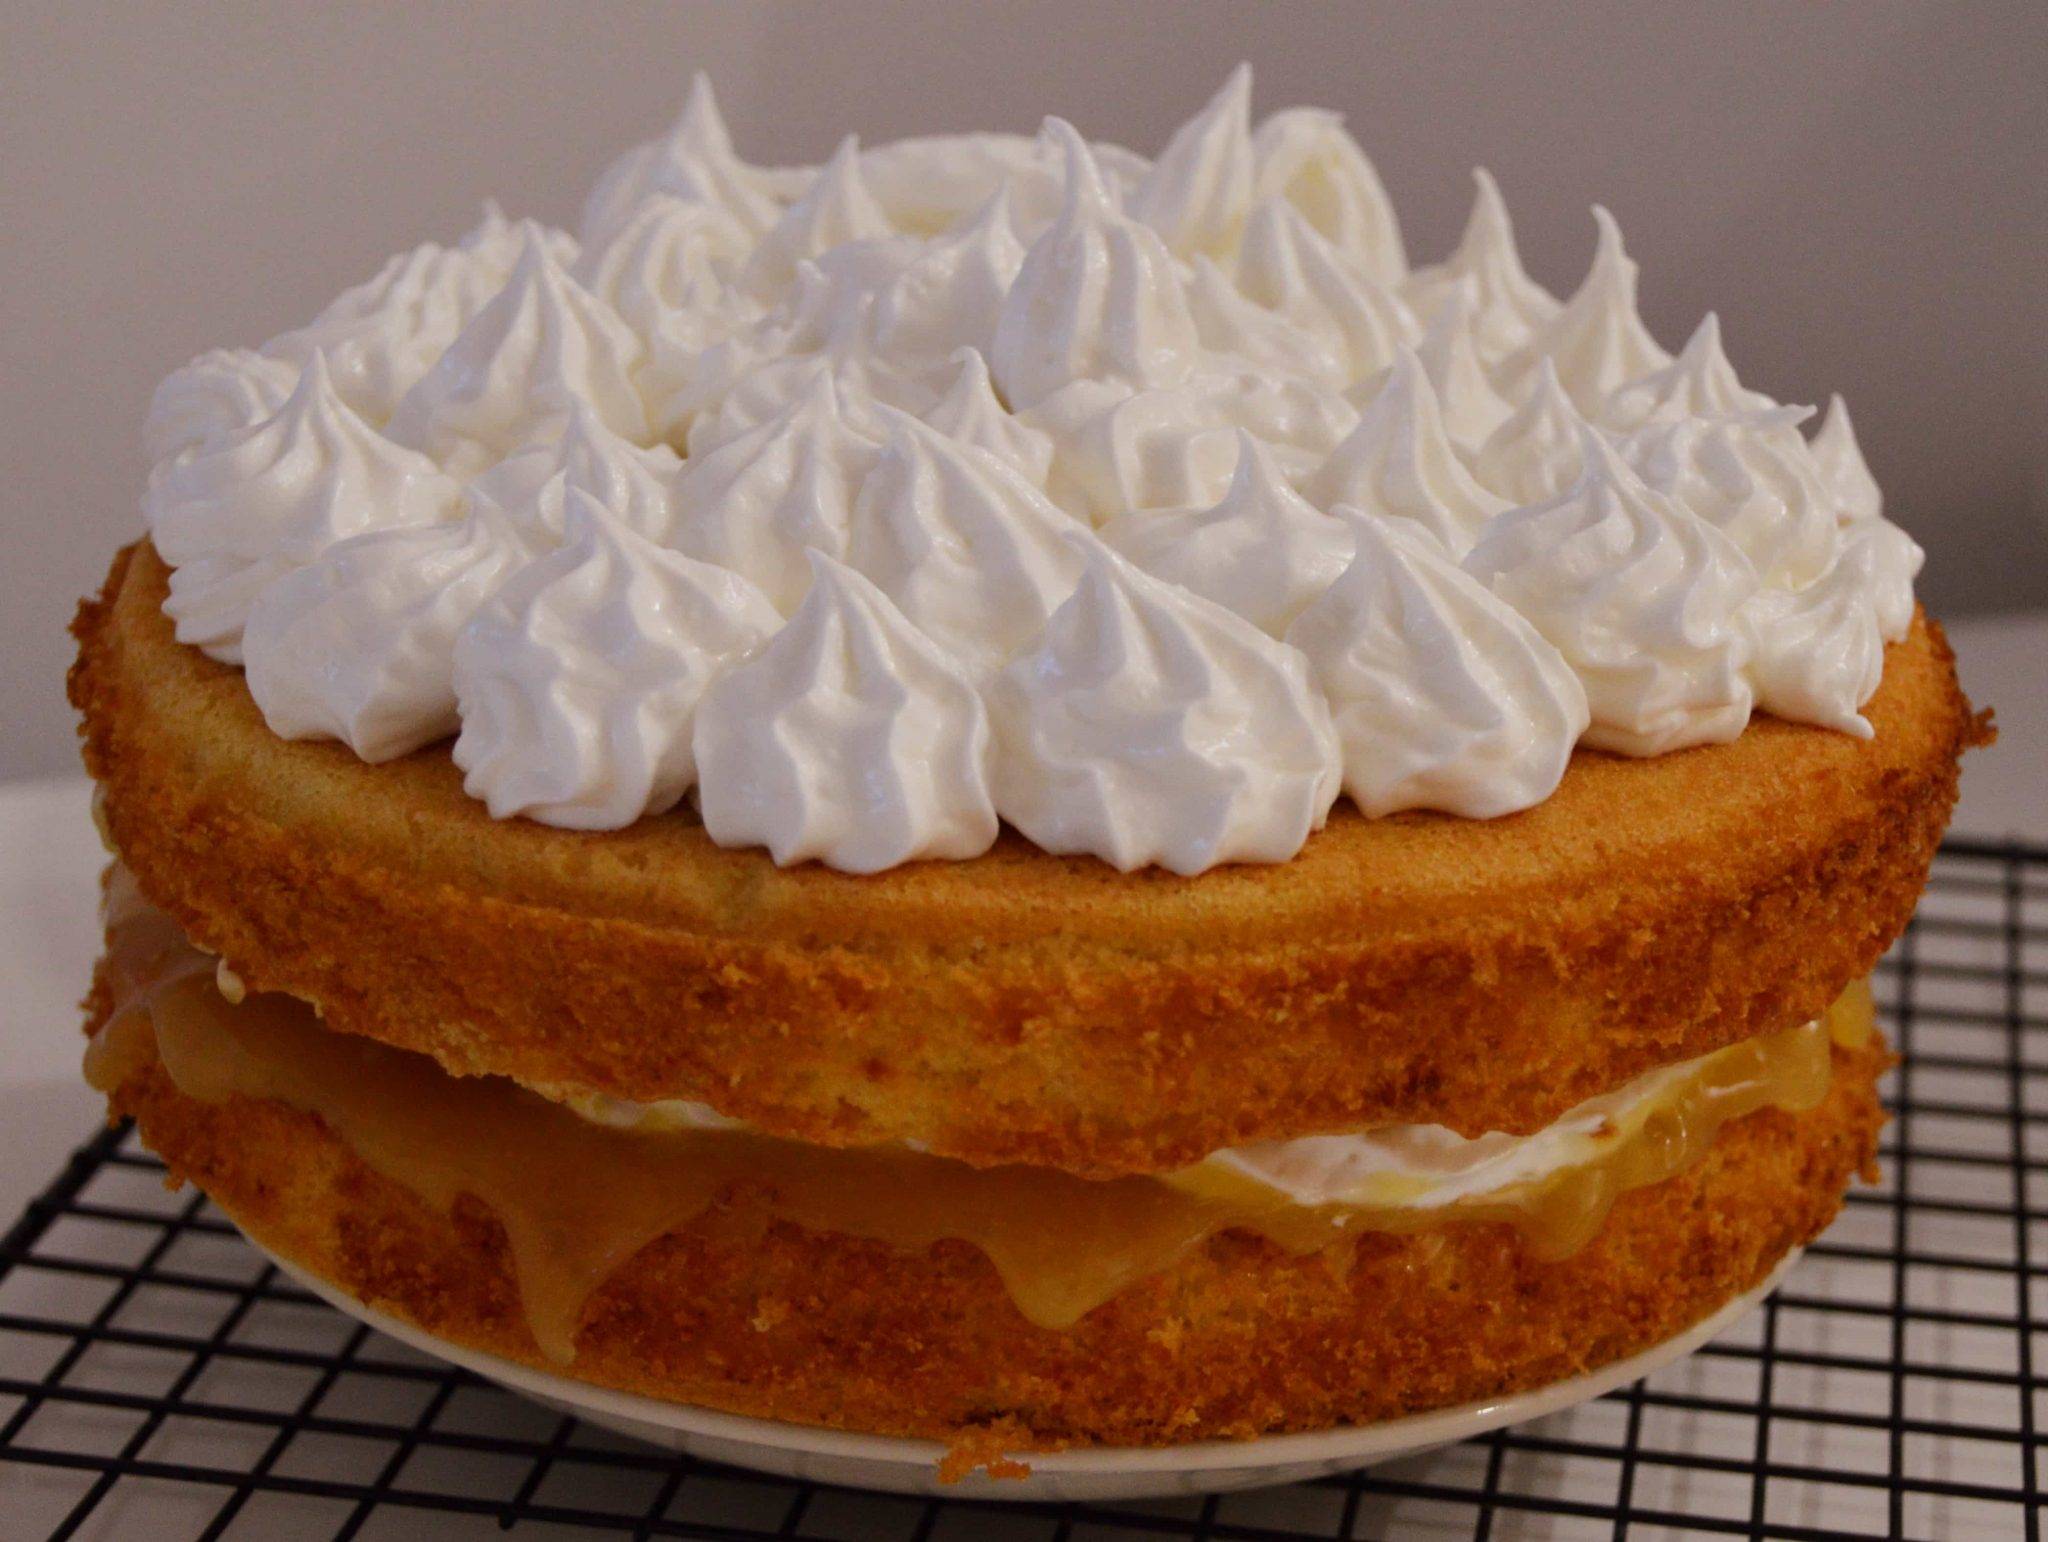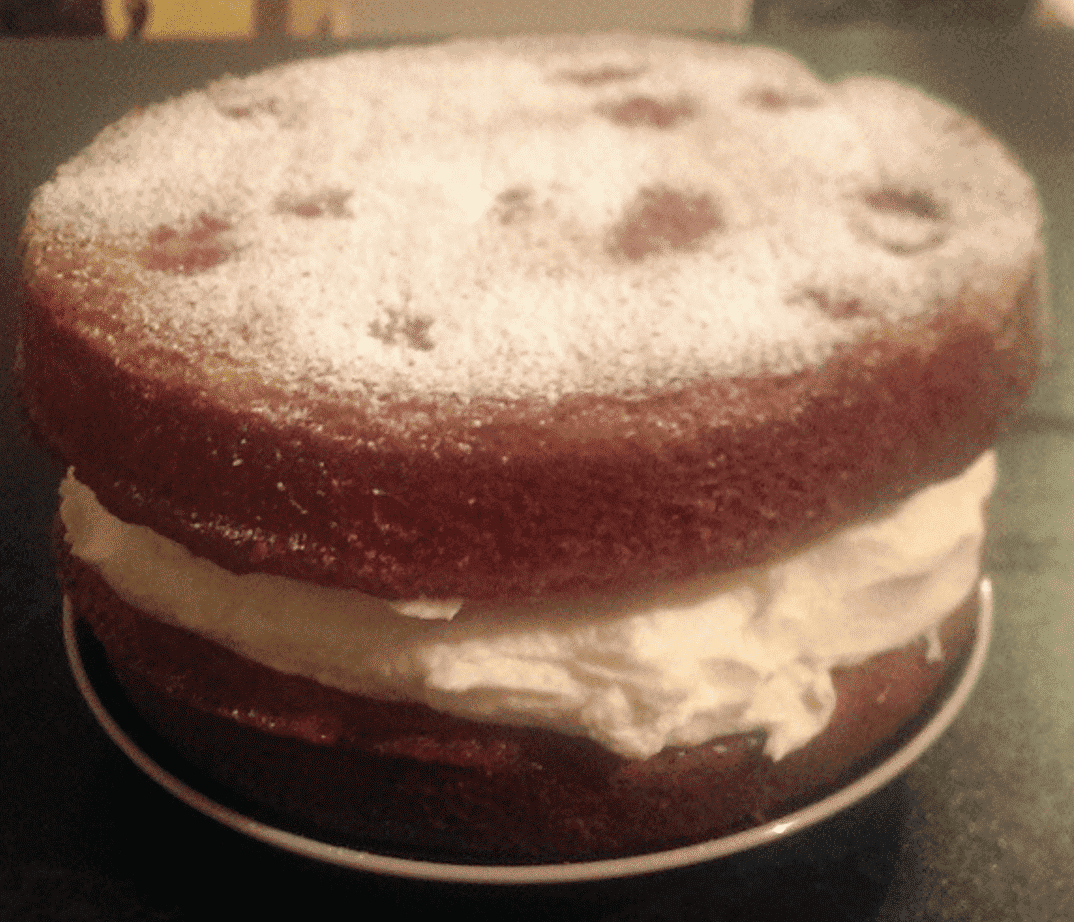
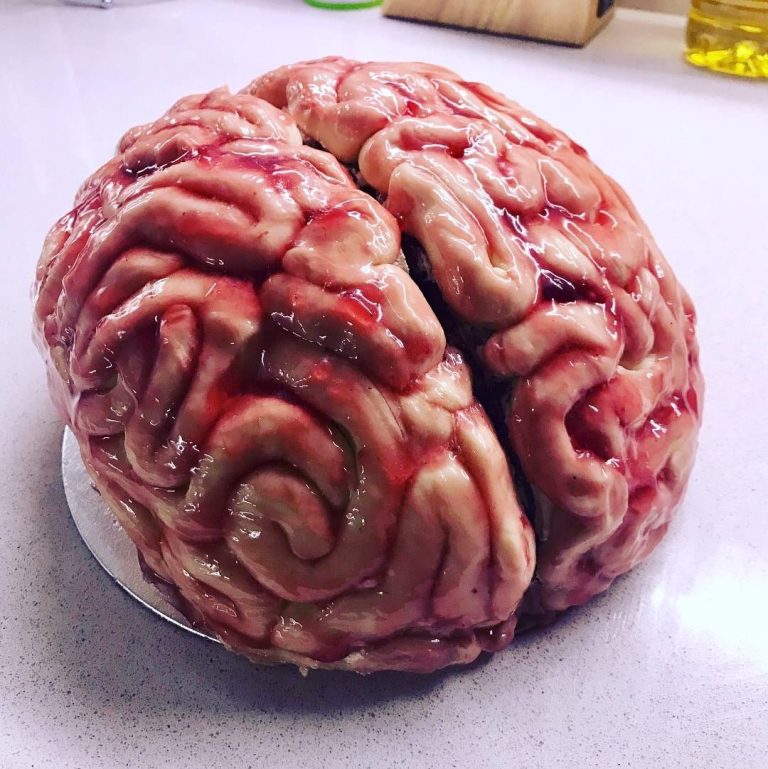
This Halloween I thought I’d challenge myself and bake something creepy but new, so when I came across How To Cake It’s brain cake recipe I had to give it a go. Here’s the metric adapted recipe I used to make my cake. Using a red velvet cake as its base it is then coated in an Italian meringue buttercream, decorated with fondant and then to finish coated in raspberry jam. This is one delicious brain.
Halloween Red Velvet Brain Cake
A delicious but gory brain cake, perfect for spooking out work colleagues or taking to a Halloween party.
Print
Pin
RateIngredients
Red Velvet Cake
- 170 g unsalted butter - at room temperature
- 60 ml vegetable oil
- 1 1/2 teaspoons vanilla
- 500 g castor sugar
- 3 eggs - at room temperature
- 2 container red no-taste gel colour
- 450 g self raising flour
- 2 tablespoons cocoa
- 1/2 teaspoon salt
- 350 ml buttermilk
- 1 1/2 teaspoons cider vinegar
- 1 1/2 teaspoons baking soda
- 8 " hemisphere cake tin
Italian Meringue Buttercream
- 200 g granulated sugar
- 60 ml water
- 4 large egg whites
- 227 g unsalted butter - room temperature
- 1 teaspoon pure vanilla extract
- Electric whisk
- Sugar thermometer
Decoration
- 1.5 kg white fondant icing
- Red icing colouring
- Yellow icing colouring
- 1 jar seedless raspberry jam
Instructions
For the cake
- Heat the oven to 180°C (160°C fan).
- Prepare a hemisphere tin by greasing and lining with greaseproof paper. I find it best to use 1-inch strips from one side of the tin to the other, gradually going around the tin until covered.
- Whisk together the dry ingredients of flour, cocoa and salt and set to one side.
- Add the butter, vegetable oil, vanilla and sugar to a bowl and beat until well blended (around 5 minutes).
- Beat the eggs in one at a time.
- Add the red food colouring.
- Add the flour and dry ingredients alternatively with buttermilk, beating until combined. (Add dry ingredients in 4 stages and buttermilk in 3).
- Add baking powder to a small dish, stir in vinegar and then beat in to cake batter for 10 seconds.
- Pour batter in to prepared bowl and bake for around 1hr40 mins (reduce slightly for fan assisted) or until a skewer comes out clean.
Italian Meringue Buttercream
- Bring sugar and water to the boil in a small saucepan.
- Place egg whites in a bowl and when the sugar hits 230°C on a sugar thermometer start whisking your eggs, I used a medium speed with my electric mixer. Make sure not to over beat, whites should become stiff but not dry.
- When the sugar reaches 240°C remove it from the heat immediately and pour straight in to the egg whites. Taking care as the sugar is very hot, mix on a high speed.
- Whip the mixture until no there is no heat left in the bowl, it should feel like its room temperature to touch.
- Add the butter gradually and beat until spreadable (around 5 minutes).
- Finally beat in the vanilla, and don't try to resist take a little taste. How light and delicious is it?
Preparing the brain
- Using a serrated knife carve the sides of the cake and start shaping in to a brain shape, use a model or pictures for reference if it helps. To help with the overall brain effect cut out a dividing line down the centre of the brain and take the cake in a little at the bottom.
- Coat in a thin layer of buttercream and chill.
Adding the detail
- Coat the cake in another thin layer of buttercream to help the icing stick.
- Colour your fondant with a few drops of red icing colouring and a tiny bit of yellow, this should create a flesh like colour. I found it easier to colour around 250g of fondant at a time.
- Take a random amount of fondant, roll to around 1cm diameter and then lay on the cake in a random free flowing pattern and repeat to gradually cover the outer surface of the cake and create the brain tissue. Try to avoid the two hemispheres touching if you can to keep the definition between both sides of the brain. Using a ruler in the groove you cut earlier may help with this and to stop fondant from either side sticking to the other.
- Make sure the fondant covers the cake all the way to the bottom.
- Finally using a brush coat the cake in generous layer of seedless raspberry jam making sure to get in to all of the grooves.
- And thats it you should hopefully have a gruesome but tasty brain cake to tuck in to, enjoy!
Notes:
Useful extra tools:
Spatula for spreading buttercream
Paring knife to help shape and sculpt the fondant
Ruler
BrushAdapted from How To Cake It
Spatula for spreading buttercream
Paring knife to help shape and sculpt the fondant
Ruler
BrushAdapted from How To Cake It